If you have been growing some fresh produce this year and are wondering how to save those organic vegetable seeds for next winter, you have landed in the right place.
I started growing vegetables in my small garden a few years ago and found myself fascinated by the process of seed saving. This blog will give you all the details you need to start your organic vegetable seed-saving journey, without the information overload that a beginner doesn’t need!
The main steps to save your organic vegetable seeds are seed selection, harvesting and storage. It is important to select open-pollinated varieties, known for their genetic stability. Let healthy plants fully mature, and harvest ripe fruits with mature seeds. Store your dried seeds in air-tight containers.
As we delve deeper into each of these crucial steps, you’ll gain the knowledge and confidence to successfully save your organic vegetable seeds, ensuring a bountiful harvest year after year.
How to save your organic vegetable seeds
The first and perhaps most crucial step in seed saving is selecting the right seeds to save.
To avoid any disappointment, opt for open-pollinated or heirloom varieties, known for their genetic stability and the ability to produce offspring true to the parent plant. These varieties are especially well-suited for beginners in seed saving.
I encourage you to check out my blog where I discuss which type of seed you should buy.
The second consideration in selecting seeds is the pollination method, especially if you are growing your vegetables in smaller spaces. You should opt for self-pollinated plants, like beans, peas, and lettuce, which are excellent choices for novice seed savers. They have the advantage of predominantly fertilizing themselves, reducing the risk of cross-pollination with neighbouring plants of a different variety. This means that the seeds you save from self-pollinated plants are more likely to remain genetically pure.
If you are growing wind-pollinated or insect-pollinated plants, such as corn or squash, you’ll need to take extra precautions to isolate them from other varieties to prevent cross-pollination. This ensures that the seeds you save will produce the desired characteristics.
If you are finding all this information confusing, don’t worry, I felt exactly the same at the start. I wish someone just told me to check the seed packaging where all these details should be specified. So, yes, this is a hint to check your seed packaging!
Check out my blog on how to grow vegetables in small spaces if you are tight on space.
The next step is my favourite part – harvesting!
When the time is right, harvest the ripe fruits or vegetables with mature seeds. For example, if you’re saving tomato seeds, wait until the tomato is overripe and slightly soft before extracting the seeds. Different vegetables may require different techniques, so it’s essential to research the specifics for each type you’re saving.
Once you’ve gathered your mature fruits or vegetables, it’s finally time to extract the seeds. This typically involves cutting open the fruit, removing the seeds, and rinsing them thoroughly to remove any remaining pulp or debris. For small seeds, like those from peppers or tomatoes, allow them to ferment in water for a few days before rinsing. Fermentation can help break down the gelatinous coating around the seeds.
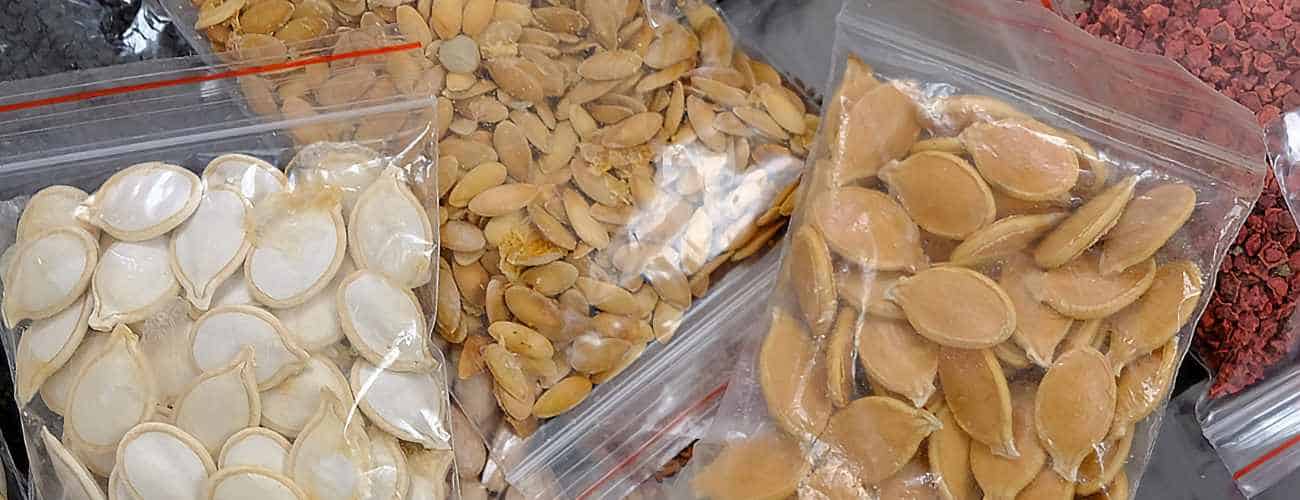
After cleaning, lay the seeds out in a single layer on a paper towel or screen to air-dry completely. This may take several days, depending on the seed type and environmental conditions. Once dry, all that is left to do is transfer the seeds to airtight containers, such as glass jars or resealable bags.
Congratulations you are an accomplished seed saver now! Don’t forget to label and date each container. Store your seeds in a cool, dark, and dry place to maintain their viability.
| Vegetable | Pollination Method | Seed Saving Details |
| Tomatoes | Self-pollinated | Select ripe, fully mature fruits. Squeeze out seeds, rinse, and ferment for a few days to remove gel. Air-dry thoroughly. |
| Beans | Self-pollinated | Allow pods to dry on the plant. Harvest when pods are crisp and seeds rattle inside. Shell the beans and store in a dry place. |
| Peas | Self-pollinated | Leave some pods on the plant until they dry. Shell the peas and store in a cool, dry location. |
| Lettuce | Self-pollinated | Allow lettuce plants to bolt and produce seed heads. Harvest seeds when they turn fluffy and brown. |
| Radishes | Self-pollinated | Allow some radishes to bolt and produce seed pods. Harvest pods when they turn brown and dry. |
These vegetable varieties are primarily self-pollinated, making them suitable choices for beginners in seed saving. However, keep in mind that while they are less prone to cross-pollination, it’s still a good practice to minimize the risk by providing adequate spacing between varieties if you have multiple types of the same vegetable.
How long can I store my organic vegetable seeds?
If you’re wondering how long you can keep your organic vegetable seeds, I have you covered.
The shelf life of your organic vegetable seeds can vary, but here’s a general idea:
- Short-Term Storage (1-2 Years): Most organic vegetable seeds are good for about 1-2 years when stored in typical home conditions. That means a cool, dry place away from light. Varieties like lettuce and radishes typically fall into this category.
- Medium-Term Storage (2-5 Years): With proper care, like sealing them in airtight containers and avoiding moisture and temperature swings, many seeds can stay viable for 2-5 years. Think beans, peas, and cucumbers.
- Long-Term Storage (5+ Years): Some seeds, especially those from root veggies, can last for 5 years or more if you handle them gently. These seeds often have a tough outer layer that helps them endure.
Why should I save my organic vegetable seeds?
There are many reasons why it is worth the effort to save your organic vegetable seeds. Growing your own produce can be costly, so the first obvious reason is to save money by not having to buy seeds and at the same time become more self-reliant. The second very important reason is to achieve higher yields and healthier crops. Who would not want that, right? Saved seeds can gradually adapt to local growing conditions, resulting in plants that are better suited to the specific climate and soil of your region.
Seed saving helps preserve heirloom and traditional plant varieties, which often have unique flavours, appearances, and cultural significance. By saving and sharing these seeds, you contribute to the conservation of agricultural heritage. This is making me feel motivated to carry on!
The next reason is to promote sustainable and eco-friendly gardening practices. Growing plants from saved seeds can reduce the environmental impact associated with seed production, packaging, and transportation.
There are many other reasons why you should get involved in seed saving. I believe that seed saving is a valuable skill that can be passed down through generations. It fosters community and knowledge sharing, preserving traditional practices and promoting a sense of community. Why not teach your children this important skill or share your seeds within your community?