If you have been making your kefir at home, you are well aware that kefir is made using kefir grains. You might be wondering whether making kefir without kefir grains is possible. You are in a great place as I asked myself the same question, so I researched this for you!
The short answer is no; kefir can be made without kefir grains. This method involves using existing kefir as a starter culture. In this way, you can ferment fresh milk to produce kefir by simply adding a small amount of ready-made kefir to the fresh milk, allowing the fermentation process to take place.
If you have more questions, carry on reading as I am going to break this down into details. I will explain step by step how to make kefir with no kefir grains!
How Can You Make Kefir Without Kefir Grains?
I was happy to learn that making kefir without kefir grains is not only possible but also surprisingly simple.
- To start this kefir-making journey, you’ll need some ready-made kefir from your local store or a generous friend willing to share. This serves as the crucial ingredient that kickstarts the fermentation process. Choose a plain, unsweetened variety for the best results.
- Now, grab some fresh milk – cow’s milk, goat’s milk, or even non-dairy alternatives like almond or coconut milk, whatever tickles your taste buds. If you happen to use raw milk, it’s important to know that this is not suitable due to the bacteria it contains which can interfere with the specific balance needed for kefir fermentation. Pour the fresh milk into a clean glass jar, leaving some space at the top.
- Next comes the most important – your store-bought kefir, which is used as your starter culture. Add a couple of tablespoons to the fresh milk in the jar. This is your secret weapon to make your own kefir! It’s good to know you don’t always need those grains, especially for those times when you forget to feed them, like I occasionally do!
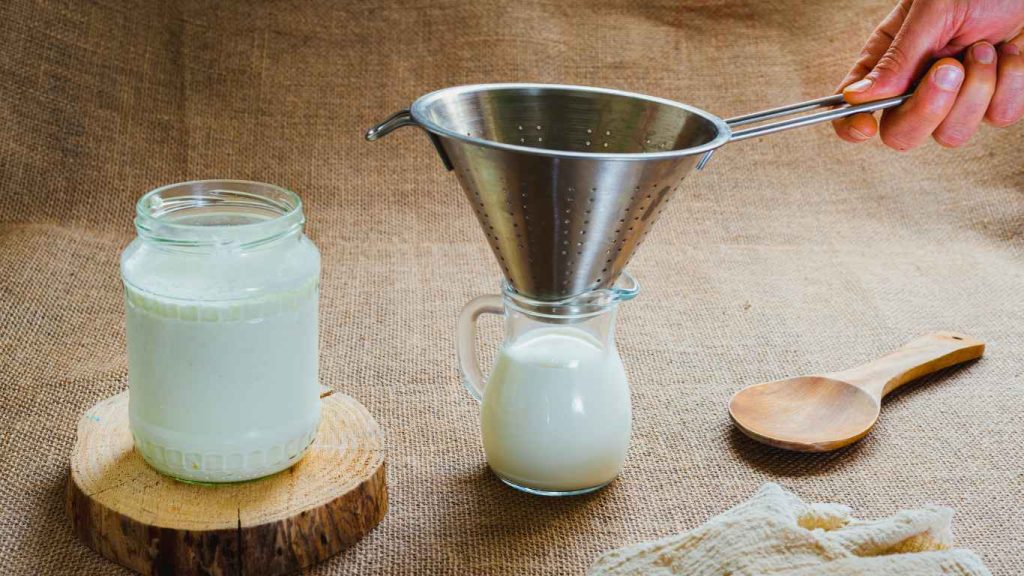
- Give it a good stir, ensuring the store-bought kefir mixes thoroughly with the fresh milk. Now, cover the jar with a breathable cloth or paper towel and secure it with a rubber band. This allows the mixture to breathe during the fermentation process.
- Leave the jar at room temperature for about 24-48 hours. The longer you leave it, the thicker and tangier your kefir will become. Keep an eye on it – when it reaches your desired consistency, pop it in the fridge to slow down the fermentation.
And there you have it – your homemade kefir without a single kefir grain in sight! Pour yourself a glass, and enjoy the creamy, probiotic goodness you’ve just created. Feel free to experiment with different milk types and fermentation times to find your perfect blend. Cheers to the joy of kefir-making!
If you are interested in learning about what else you can ferment, I highly recommend you to read my blog where I am discussing what you can ferment.
9 Exciting Ways How to Use Kefir
Now that you know how easy it is to make kefir even without kefir grains, you might be wondering what to do with that jar of homemade kefir. Beyond being a delicious and tangy beverage, kefir is a versatile ingredient with numerous culinary applications. Let’s explore the diverse uses of kefir
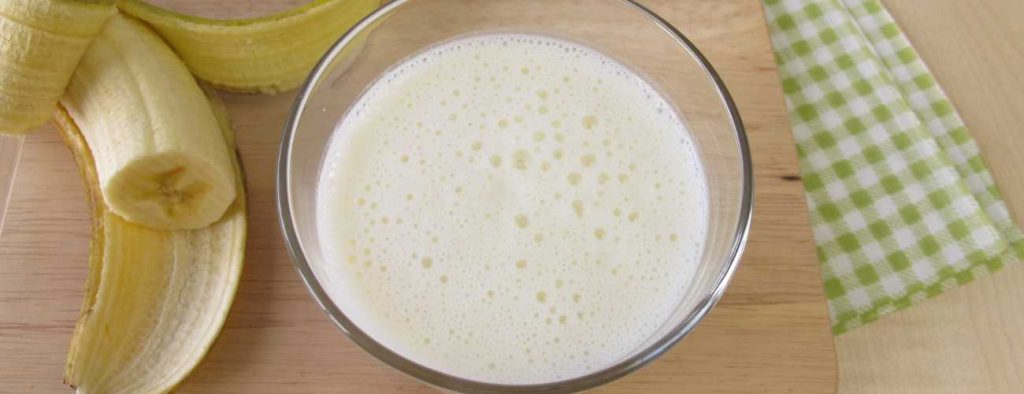
Smoothies and Shakes:
Blend kefir with your favourite fruits and a touch of honey for a refreshing and nutrient-packed smoothie.
Breakfast Bowls:
Pour kefir over granola or mix it with oats for a creamy and probiotic-rich addition to your breakfast.
Salad Dressings:
Whisk kefir with herbs, olive oil, and a hint of lemon to create a light and healthy salad dressing.
Marinades:
Use kefir as a base for meat or vegetable marinades, imparting a tender texture and a subtle tanginess.
Baking:
Substitute buttermilk or yogurt with kefir in recipes for pancakes, muffins, and other baked goods to enhance moisture and fluffiness.
Frozen Treats:
Transform kefir into popsicles or frozen yogurt for a delightful and probiotic-packed dessert.
Soup Enhancer:
Stir kefir into cold soups like gazpacho or add it to warm soups just before serving for a creamy finish.
Dips and Sauces:
Blend kefir with herbs, garlic, or spices to create creamy dips or sauces for vegetables and snacks.
Probiotic Snacks:
Freeze kefir in small portions for bite-sized, probiotic-rich snacks, perfect for a quick and healthy treat.
Hopefully, this gave you some inspiration and motivation to keep going with your kefir-making journey.
Can I Ferment Kefir in the Fridge?
As a general rule, kefir grains or a starter culture need a moderate room temperature (around 18-25°C) to interact with the milk and facilitate the fermentation process. While you can transfer kefir to the fridge after the initial fermentation at room temperature to maintain its taste and thickness, fermenting kefir entirely in the fridge is not recommended.
As explained, the room temperature is ideal for the grains to interact with the milk and create the desired kefir consistency and flavour. However, if you find that your kefir has reached the taste and thickness you prefer, transferring it to the fridge is a practical option to slow down the fermentation process.
For those using kefir as a starter culture, where pre-made kefir serves as the catalyst for fermentation, a similar principle applies. After allowing the kefir to ferment at room temperature until it achieves the desired characteristics, you can place it in the fridge to maintain that taste and thickness.
The refrigeration method is particularly beneficial if you want to extend the shelf life of your homemade kefir or if you’re dealing with a surplus. It’s important to note that the fermentation process will continue in the fridge, albeit at a much slower pace. Regularly check the kefir to ensure it retains the desired thickness and flavour. If separation occurs or it becomes too thick, a gentle stir can help.
Whether you’re a fan of traditional kefir grains or prefer the simplicity of using kefir as a starter culture, fermenting kefir in the fridge is a convenient way to enjoy your probiotic-rich creation while giving you flexibility in controlling its taste and consistency.

Conclusion
So, making kefir without grains is doable – it’s simple, straightforward, and opens up a whole new world. Using existing kefir as a starter is the key to an easy homemade batch, giving you a lot of freedom.
And when it comes to keeping your kefir game strong, the fridge is your go-to. It’s a great trick to keep that probiotic goodness lasting, whether you’re into grains or the starter method.
Good luck on your kefir fermentation journey!